My teacher told me I have two left hands”… Madam, you are around 70 now; that long-gone teacher has been sitting inside your head, telling you you’re useless, there’s no use even trying, for over 60 years… Obviously, I can’t say that! But I can, and do, think it, all too often. Some of my teachers did that to me, too, though ultimately it didn’t stick. (Which is probably why I was beyond furious when my eldest’s DT teacher slapped him down for daring to think outside the box and come up with a entirely-workable alternative to the standard “tumbling acrobat” project. Luckily it doesn’t seem to have blighted his creativity, as has been done to so many children over the years.) Why do we so easily believe it, and as parents, put up with it?

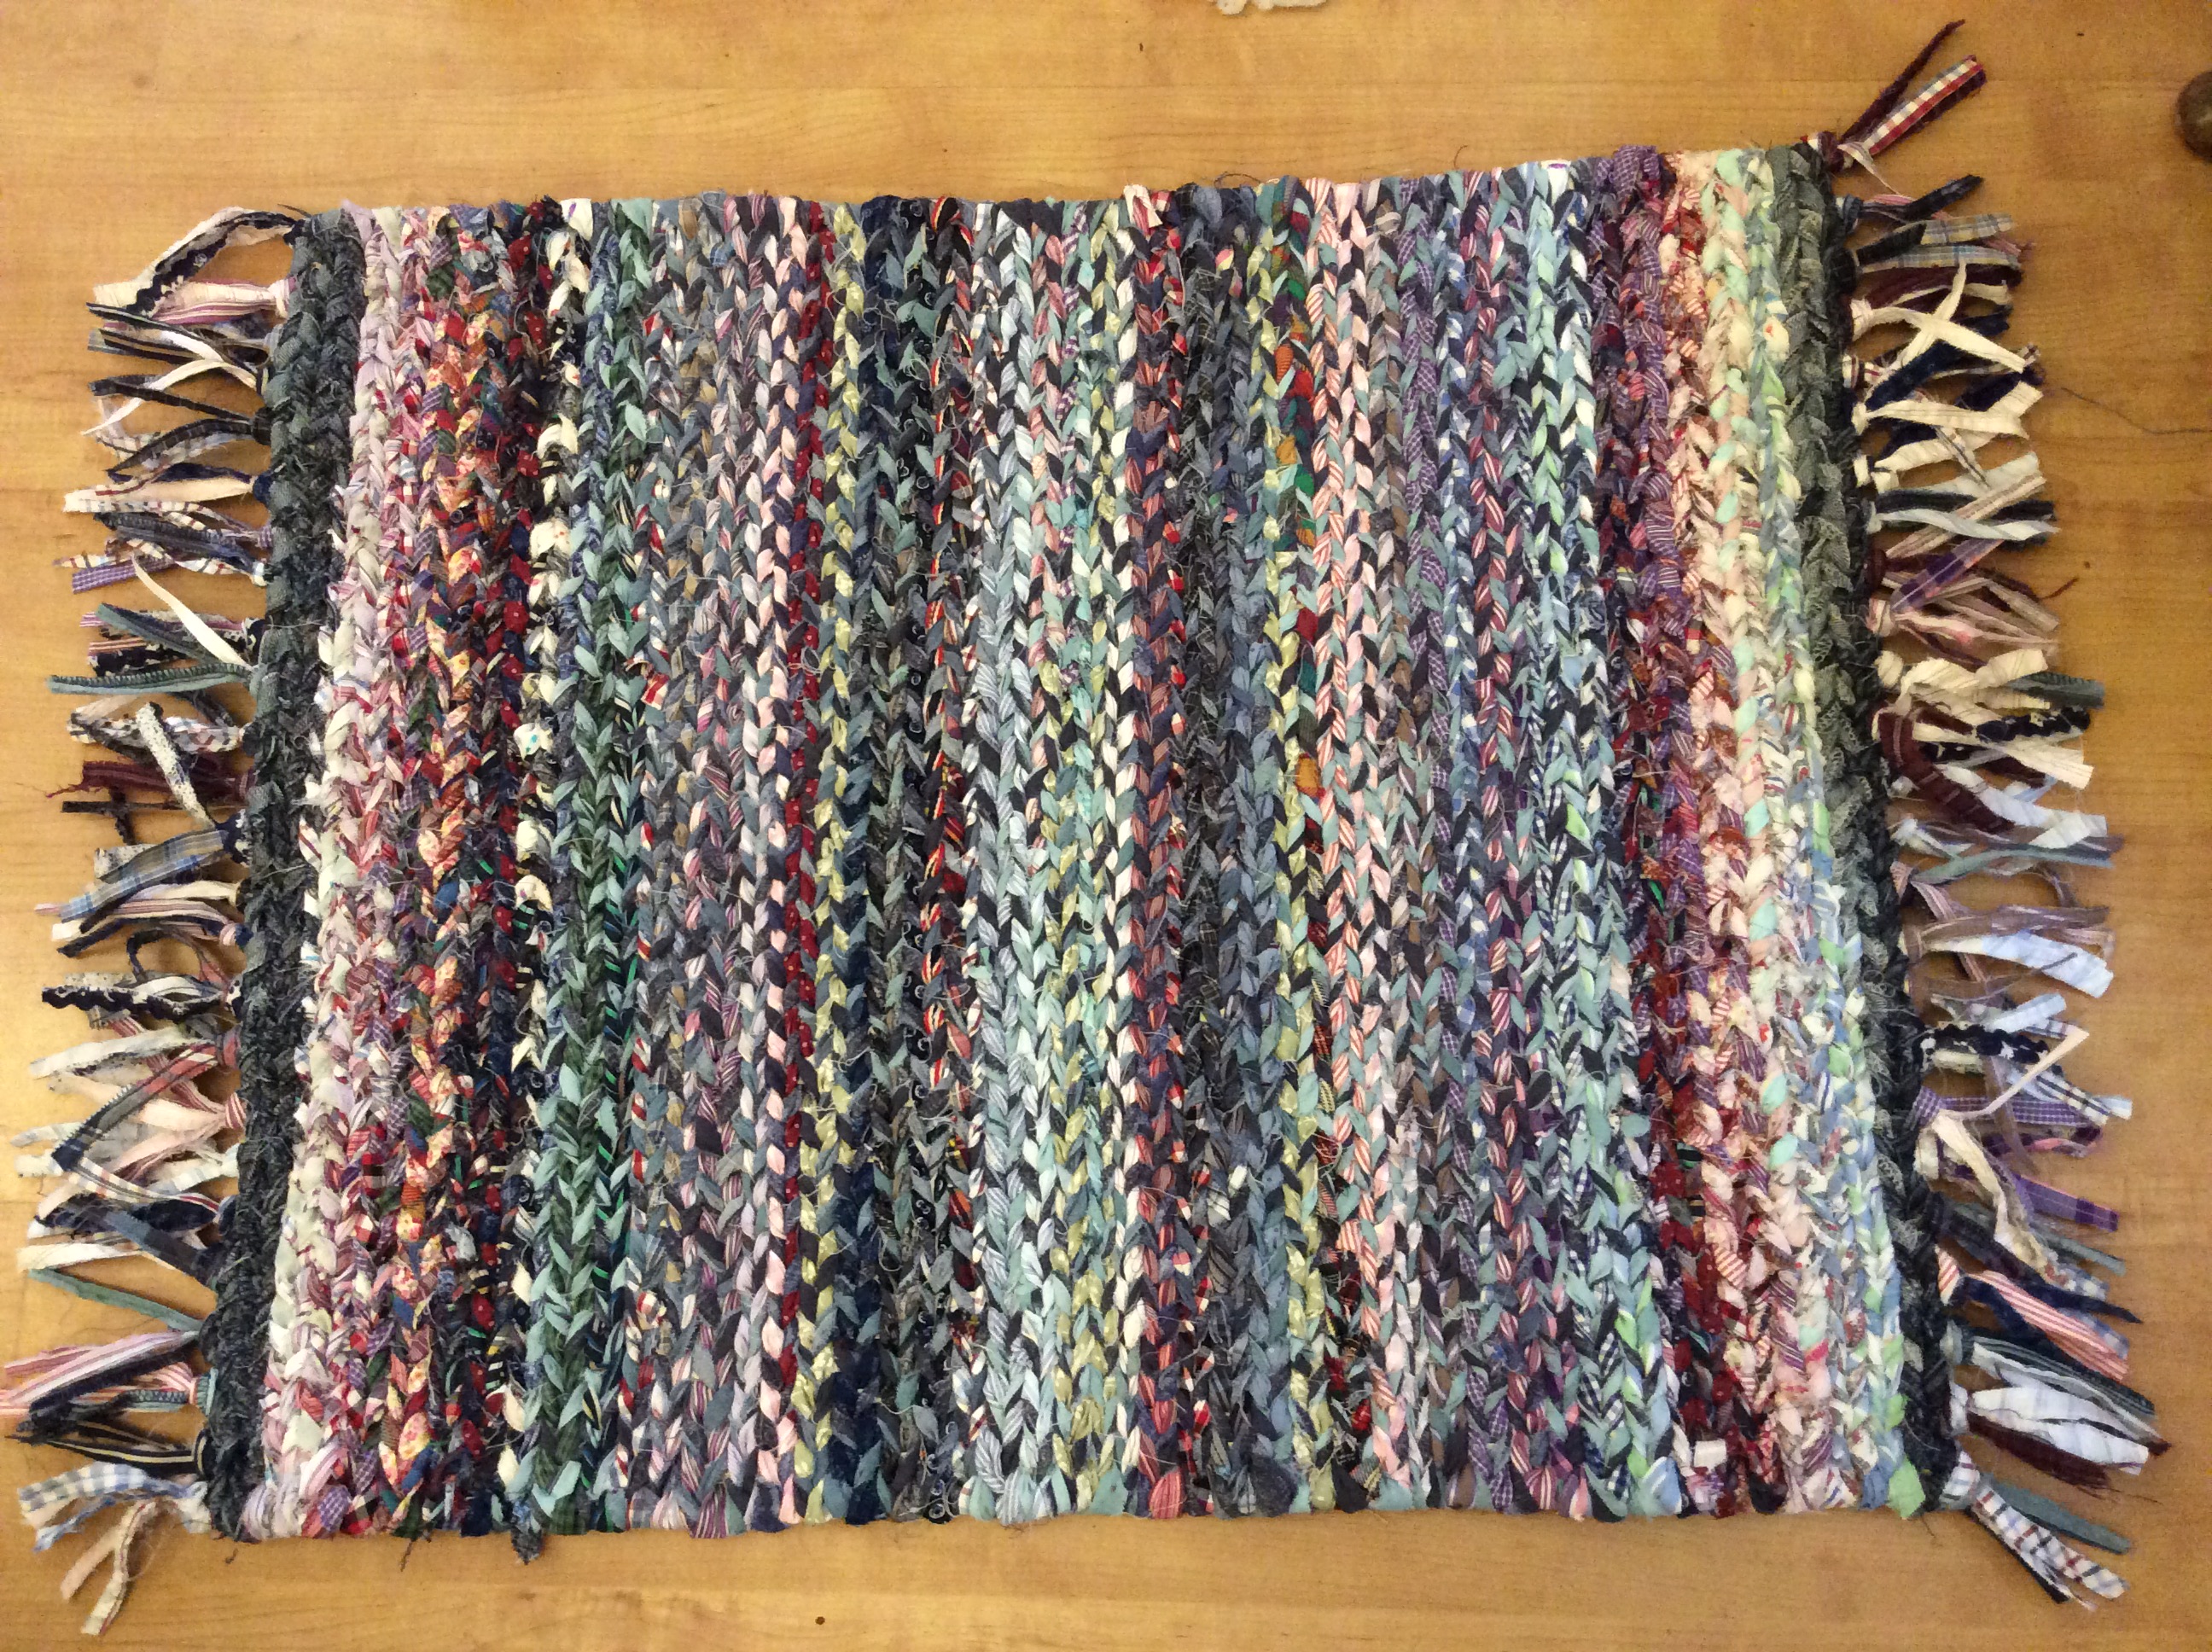
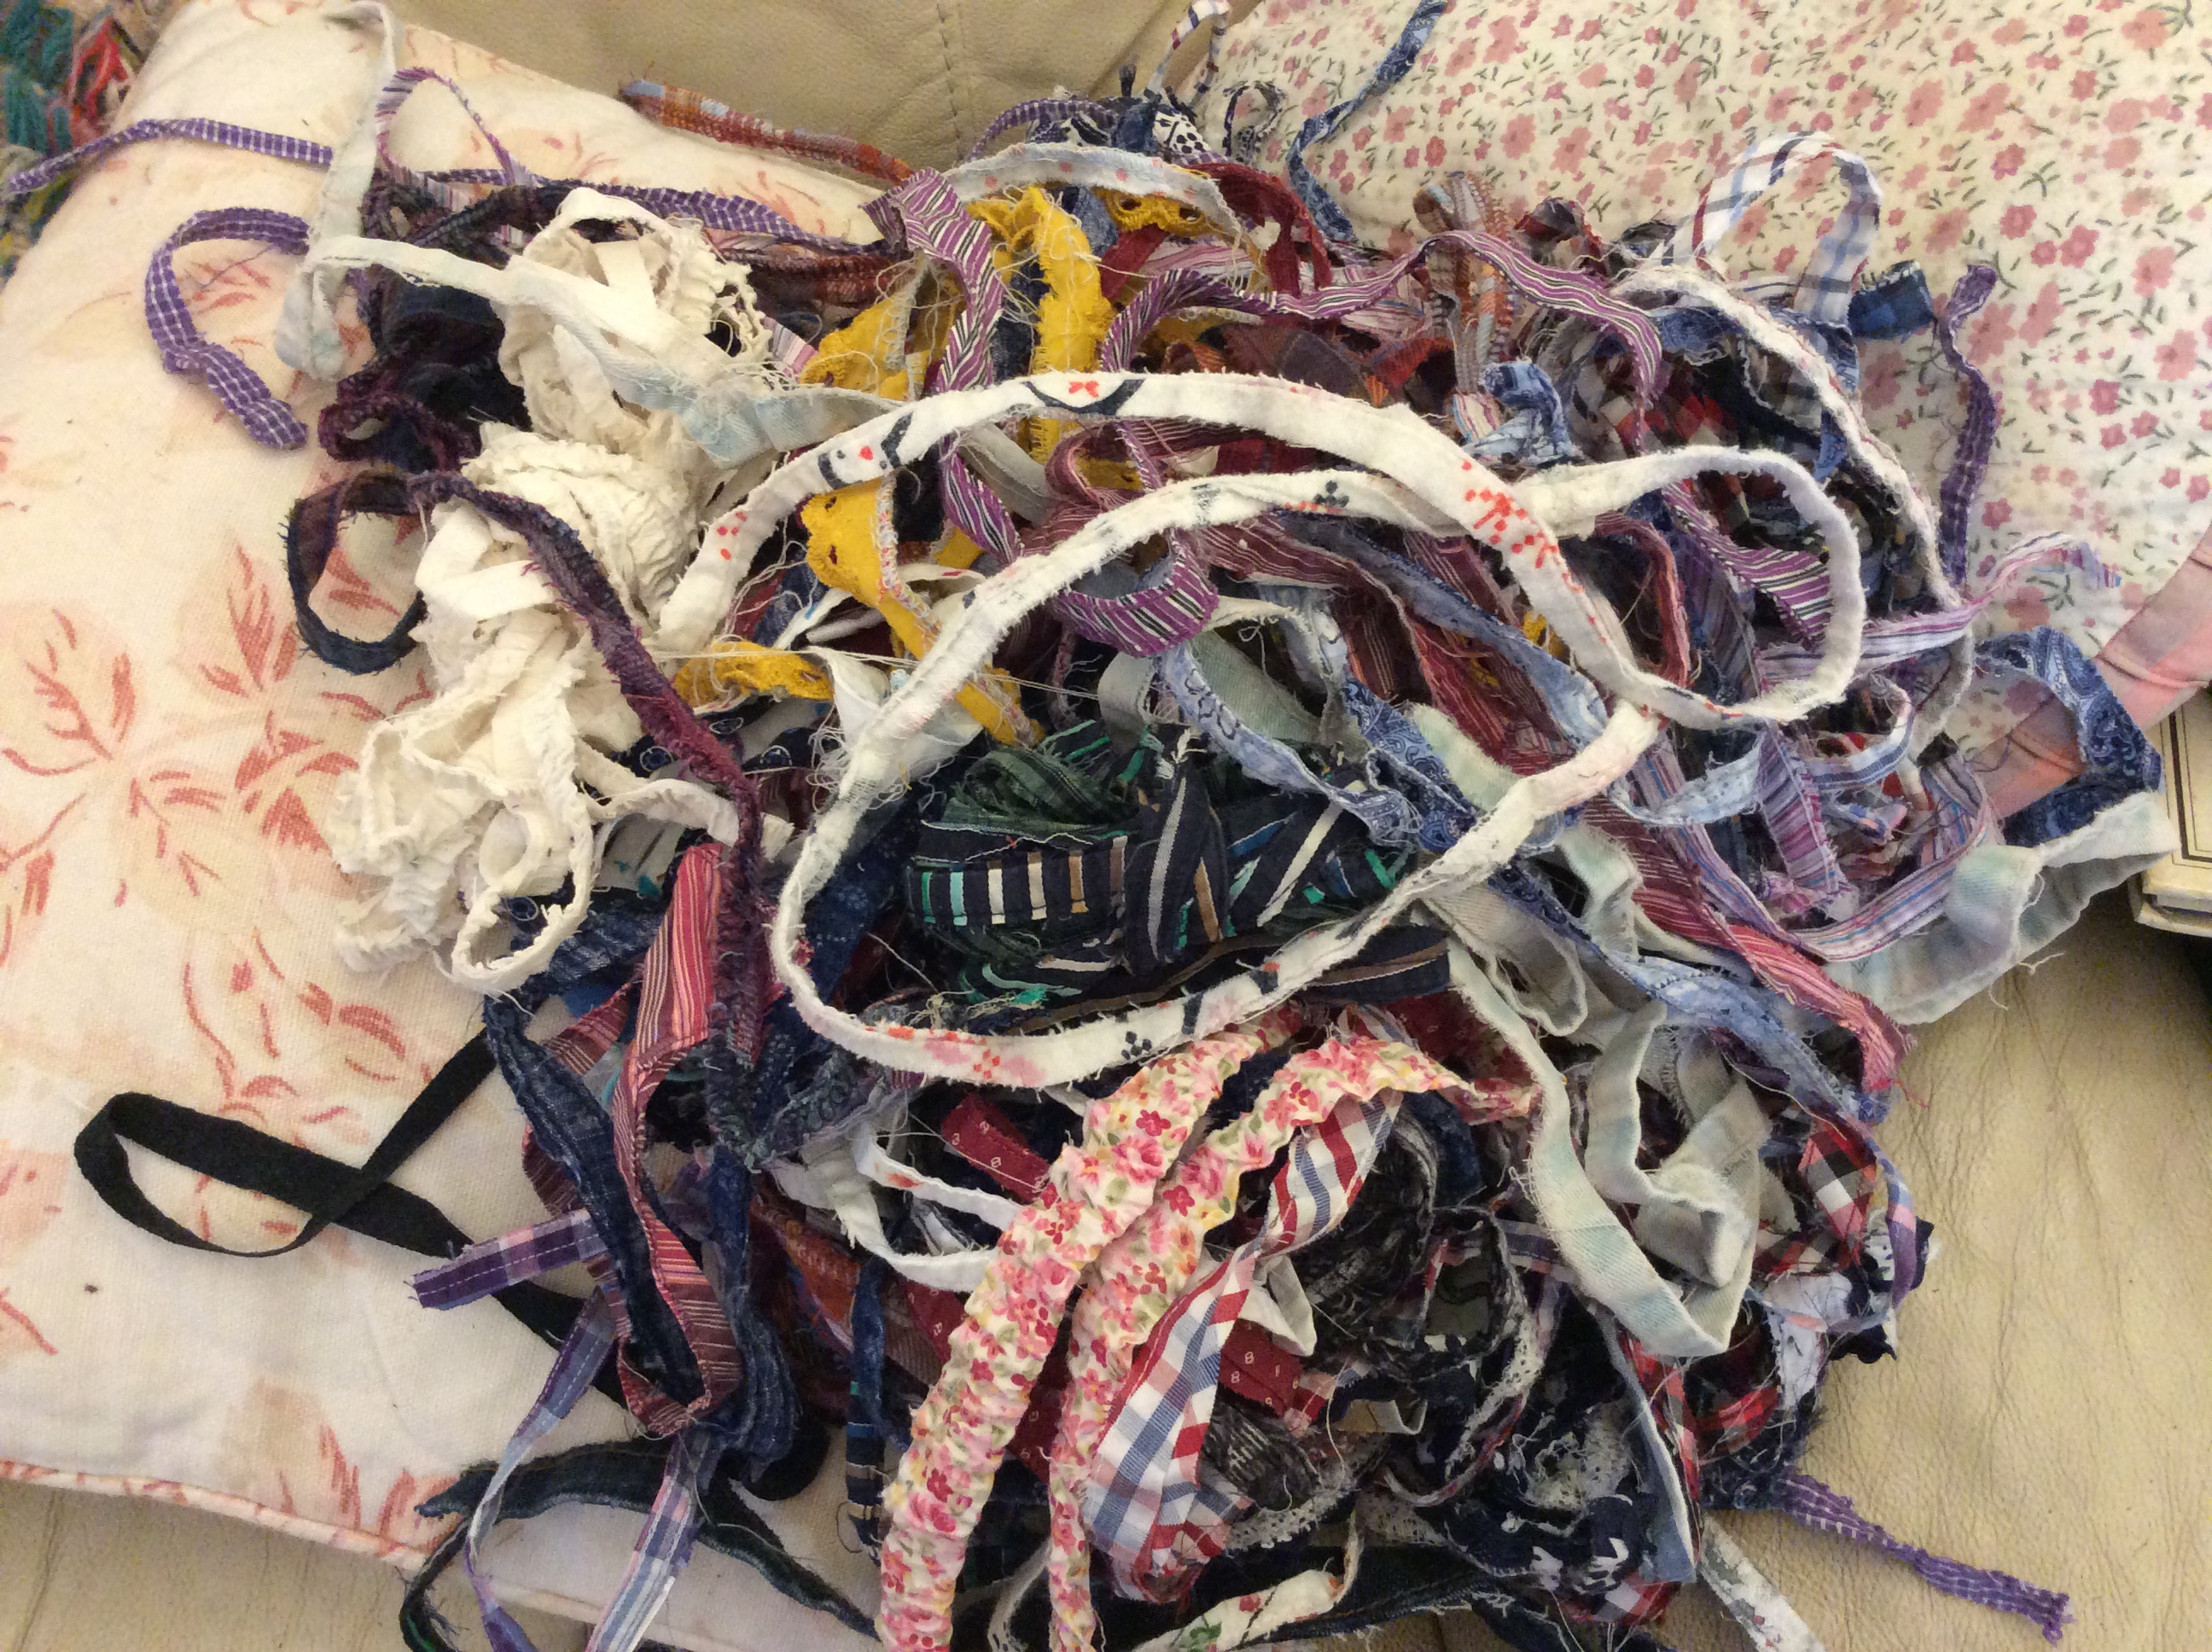
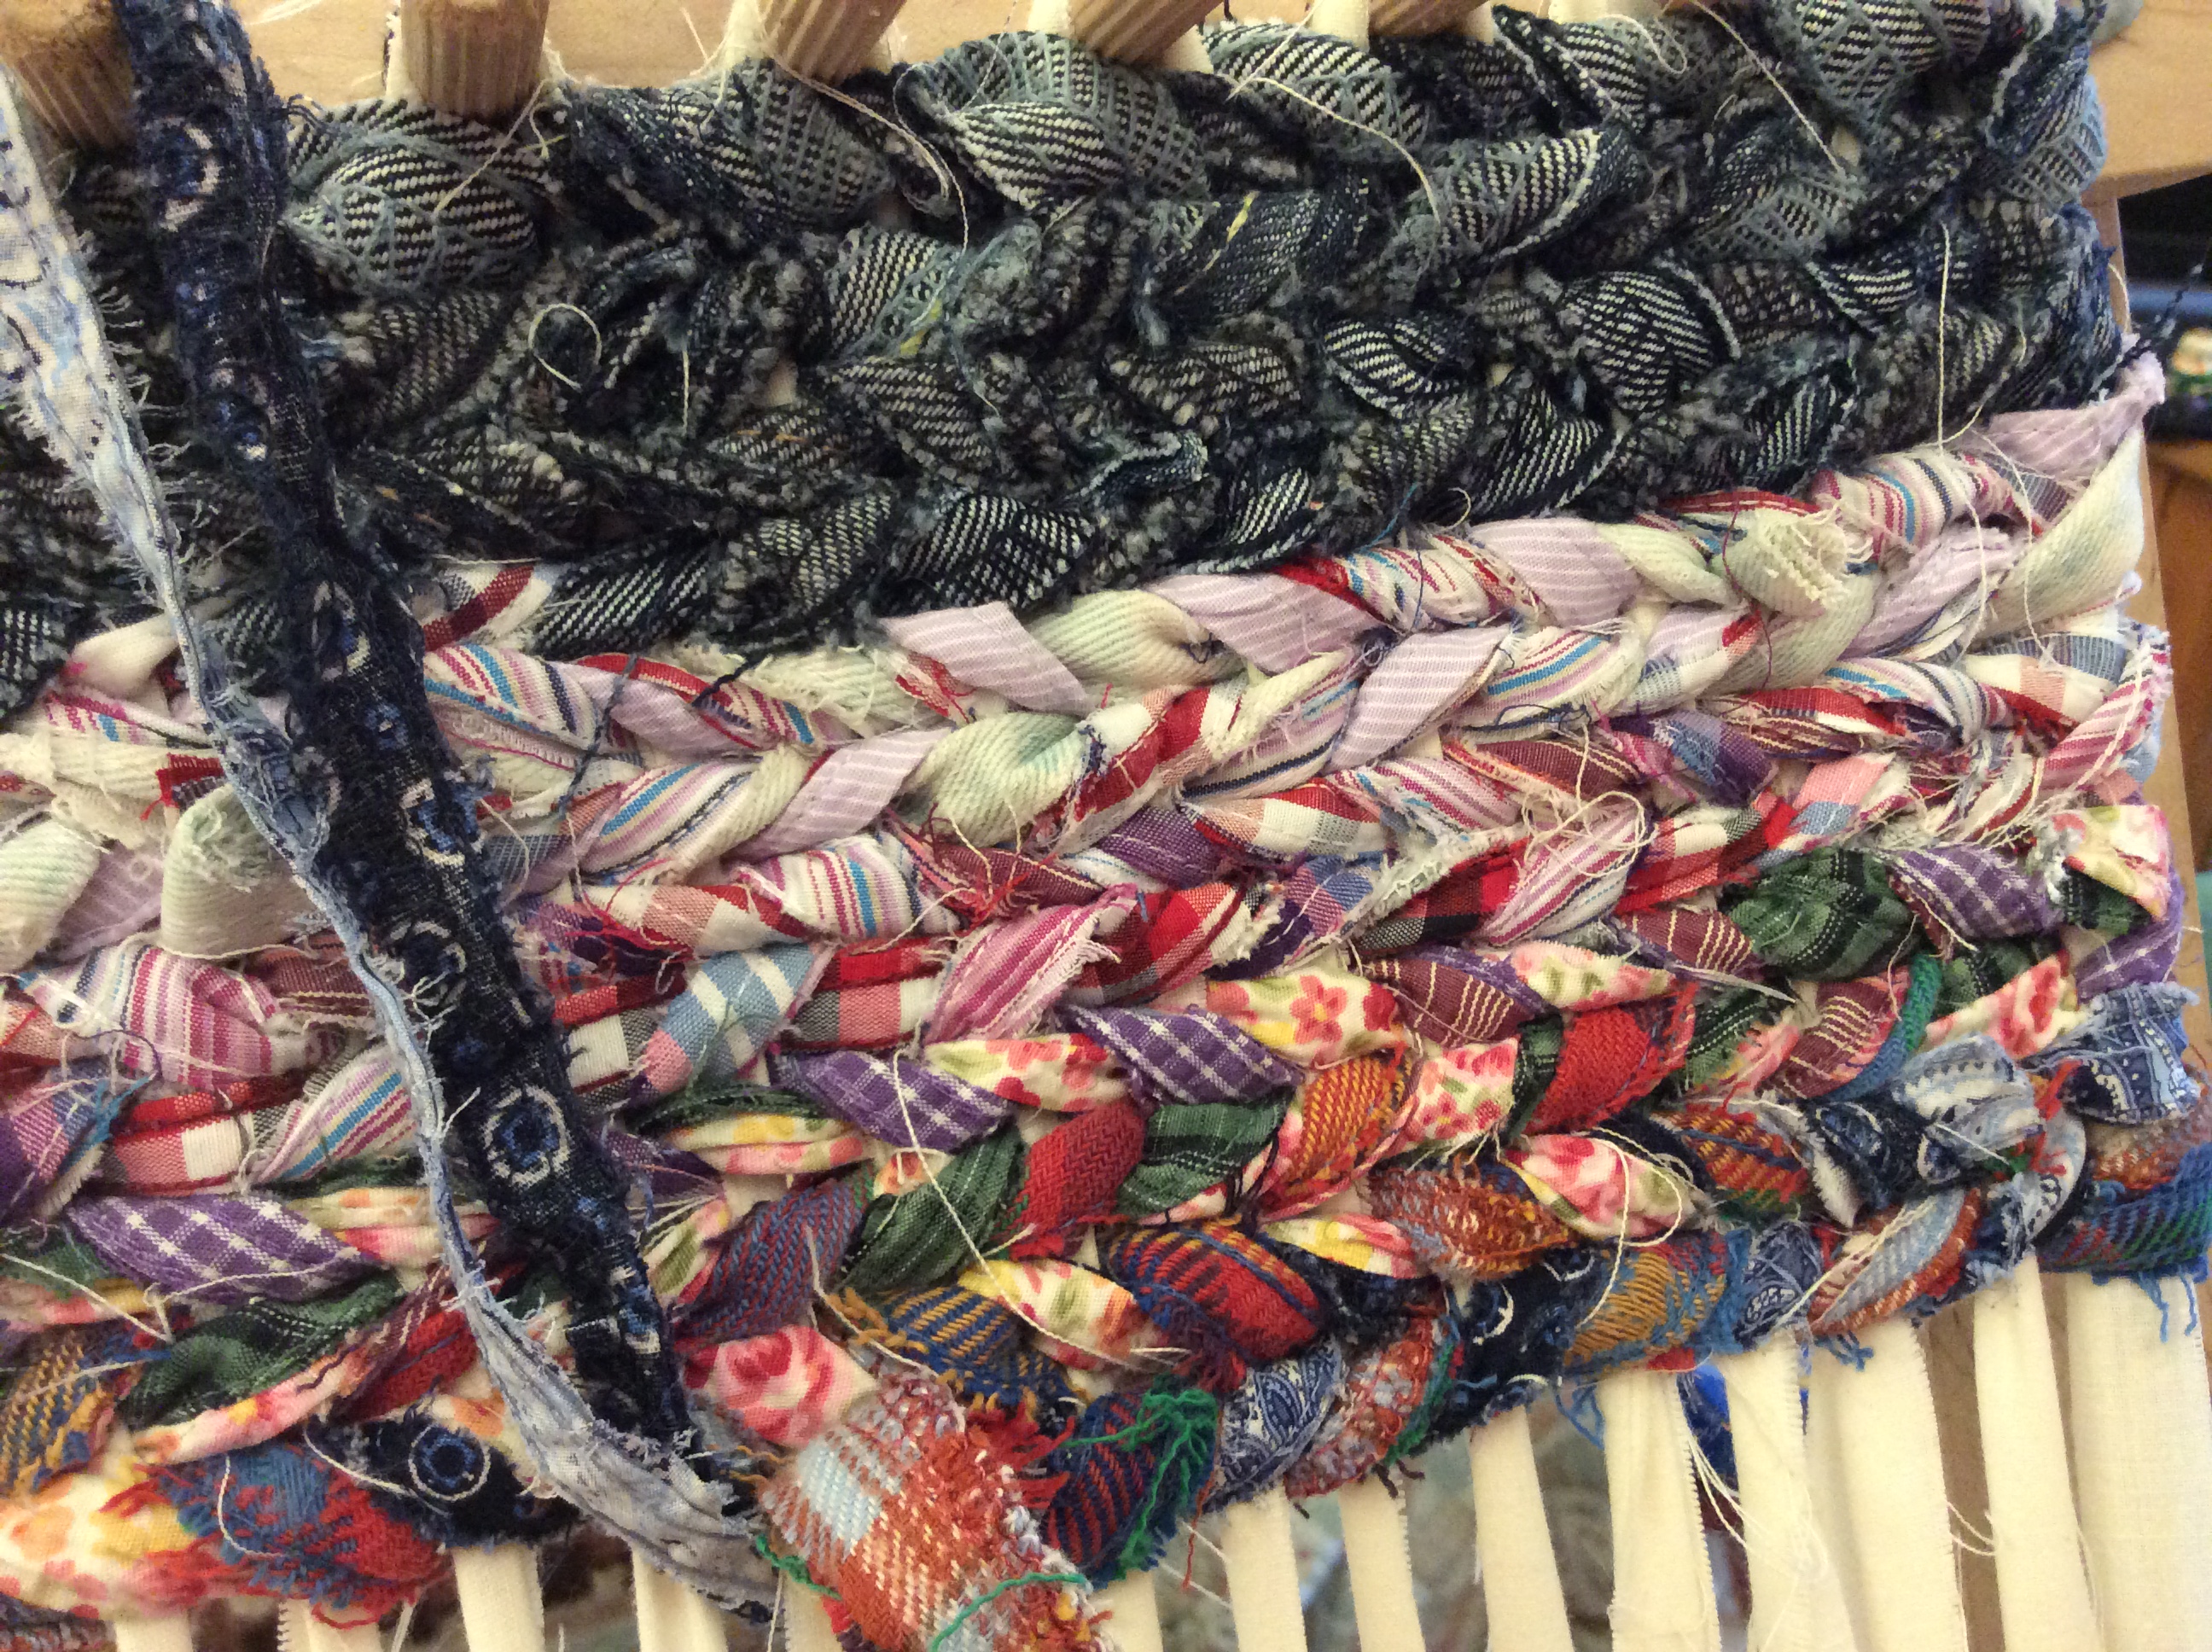
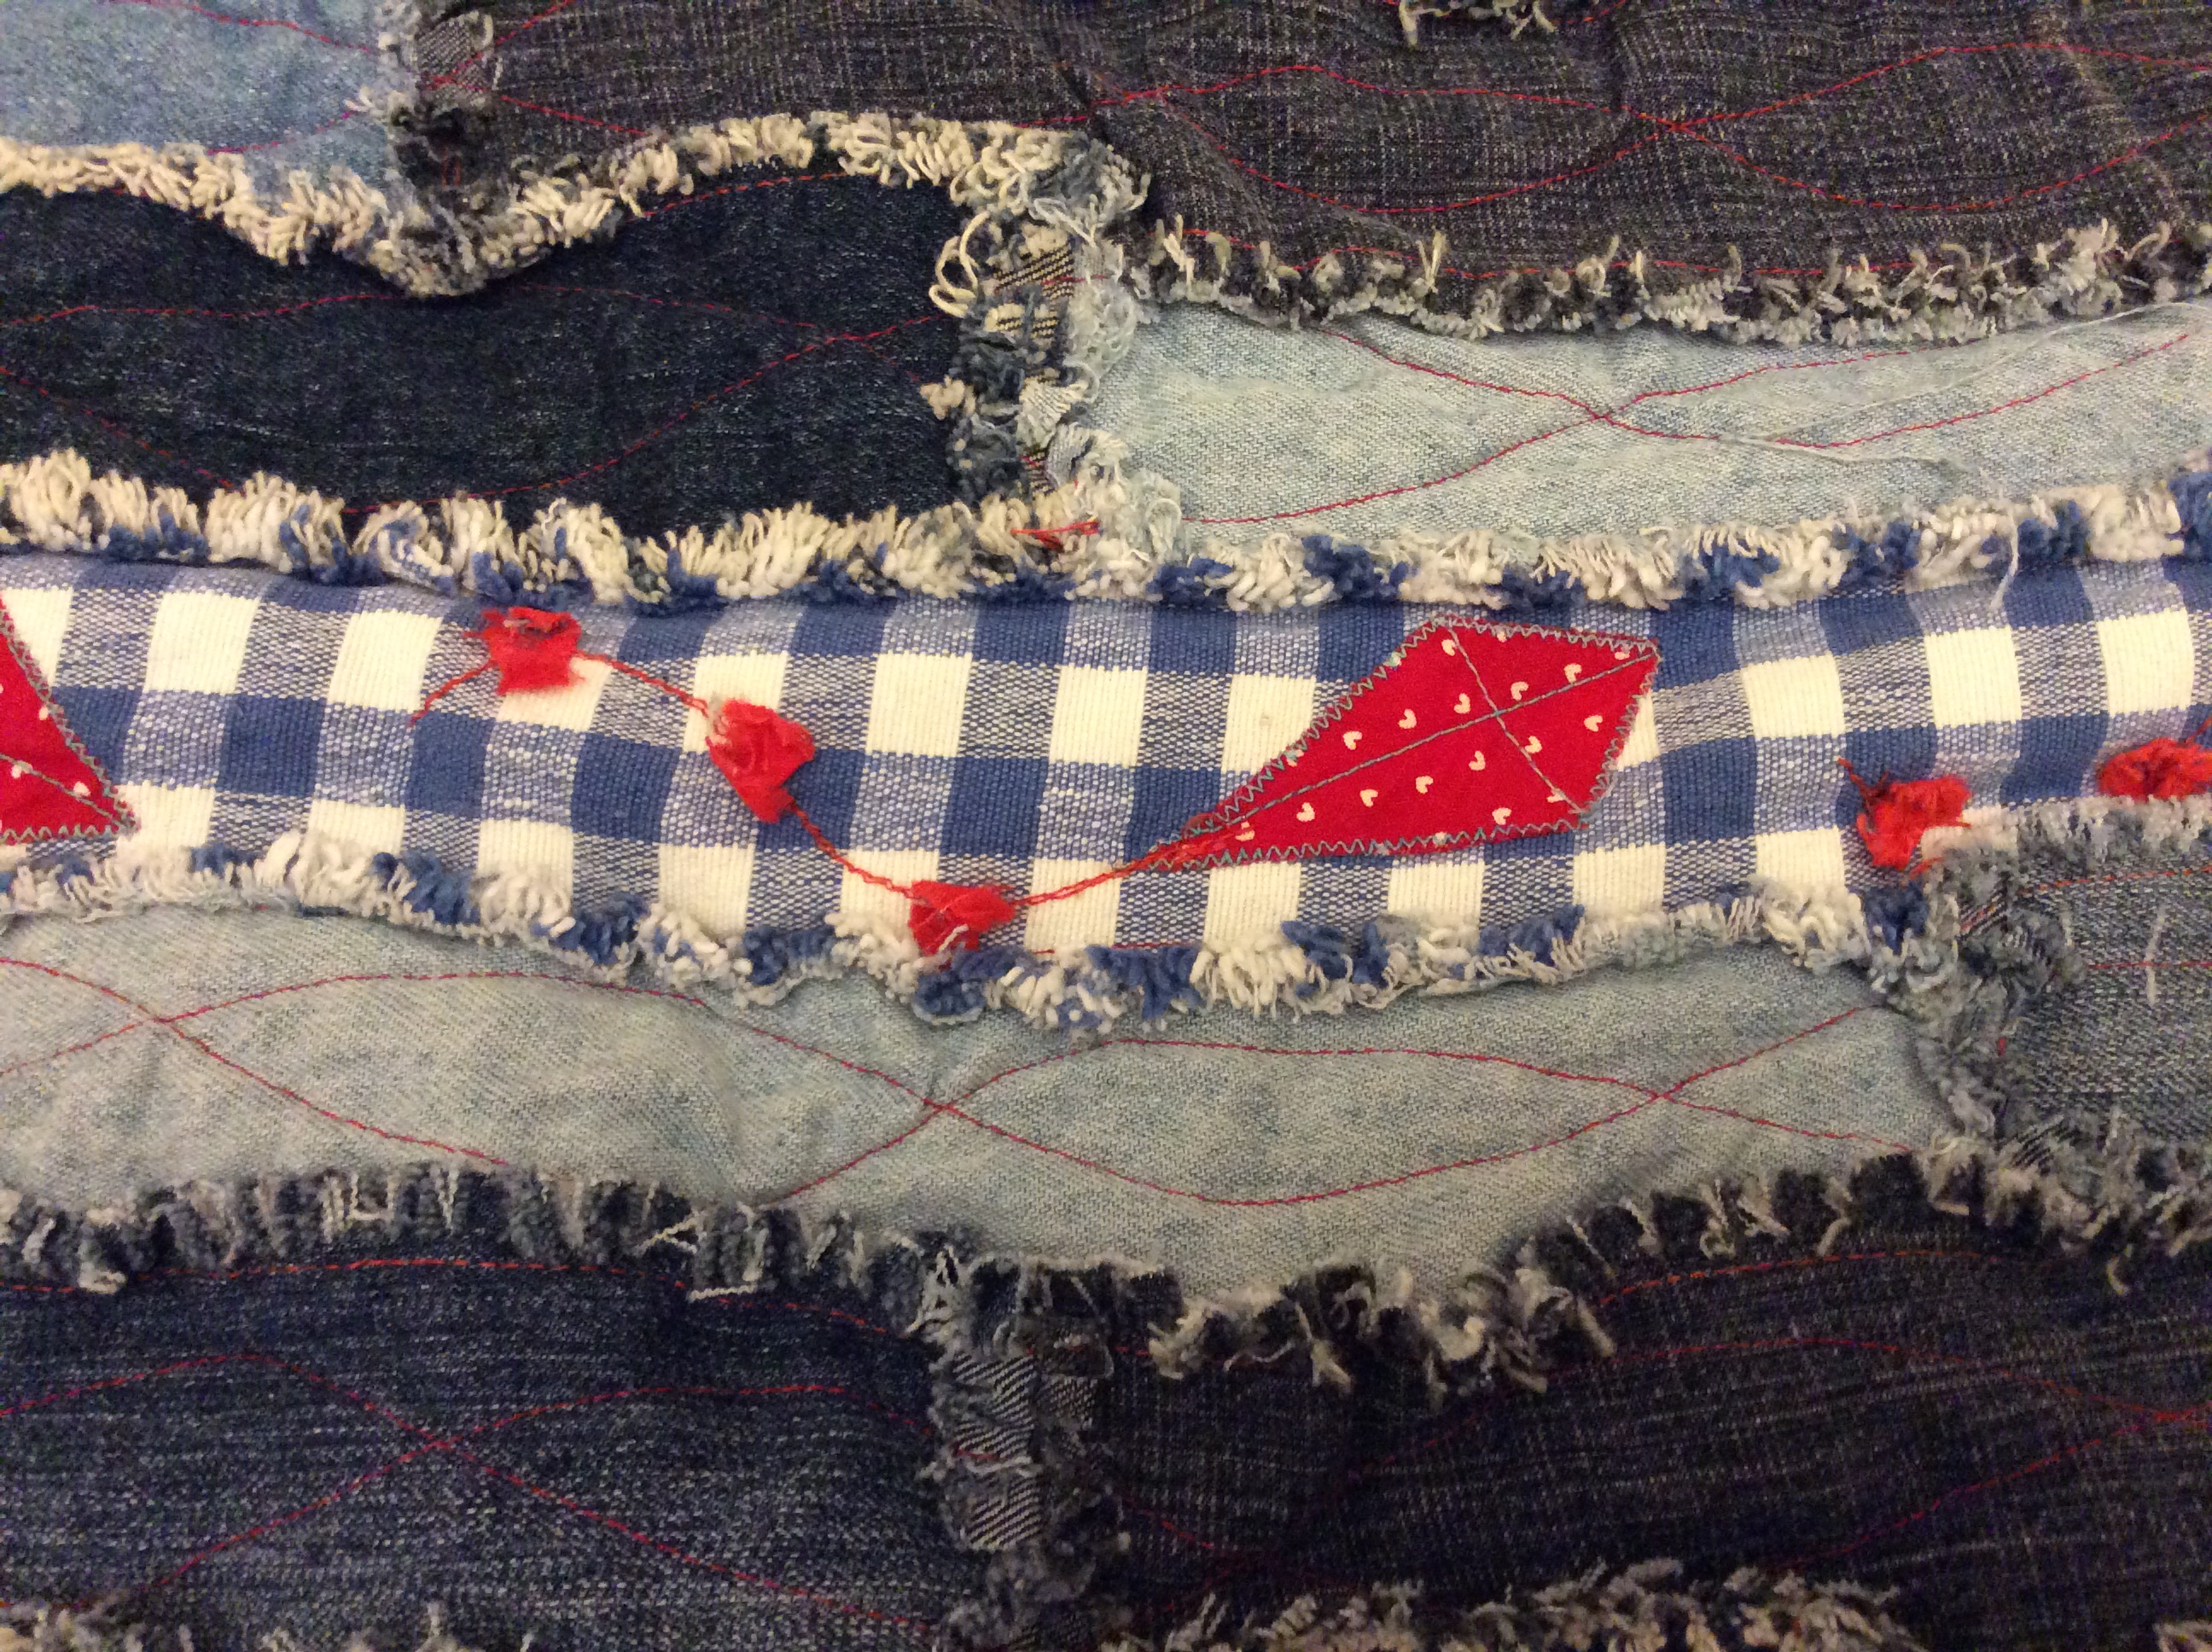
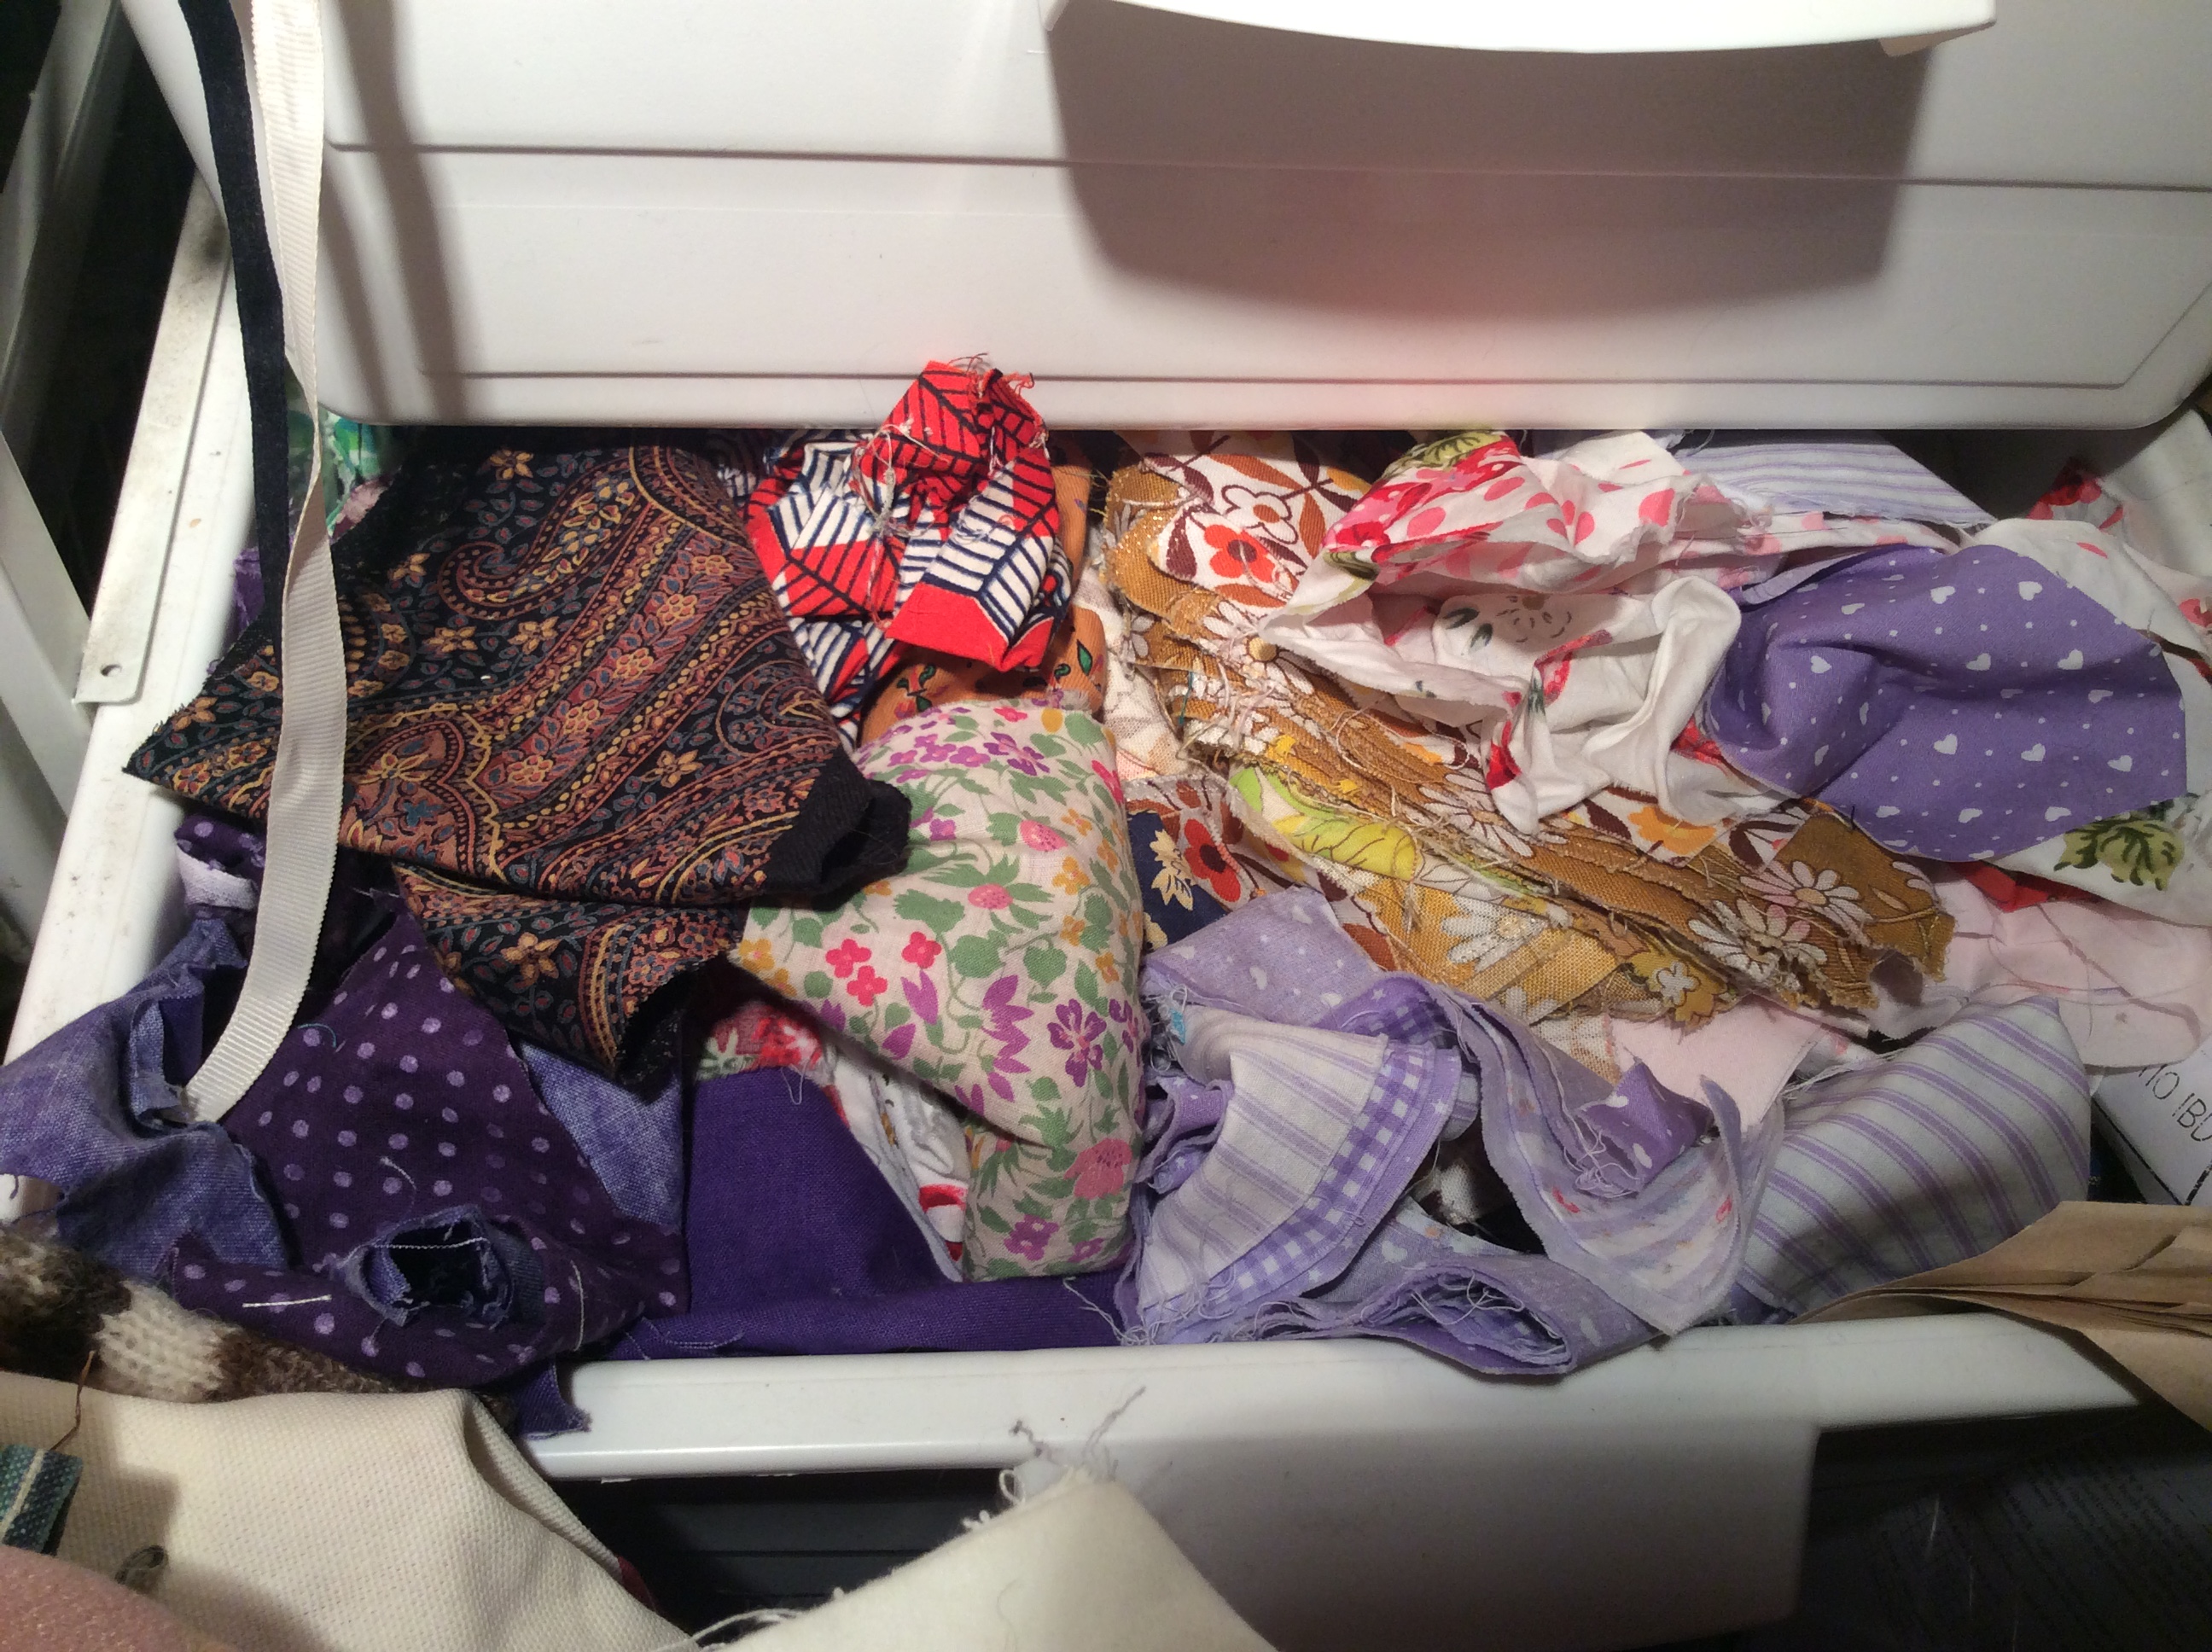
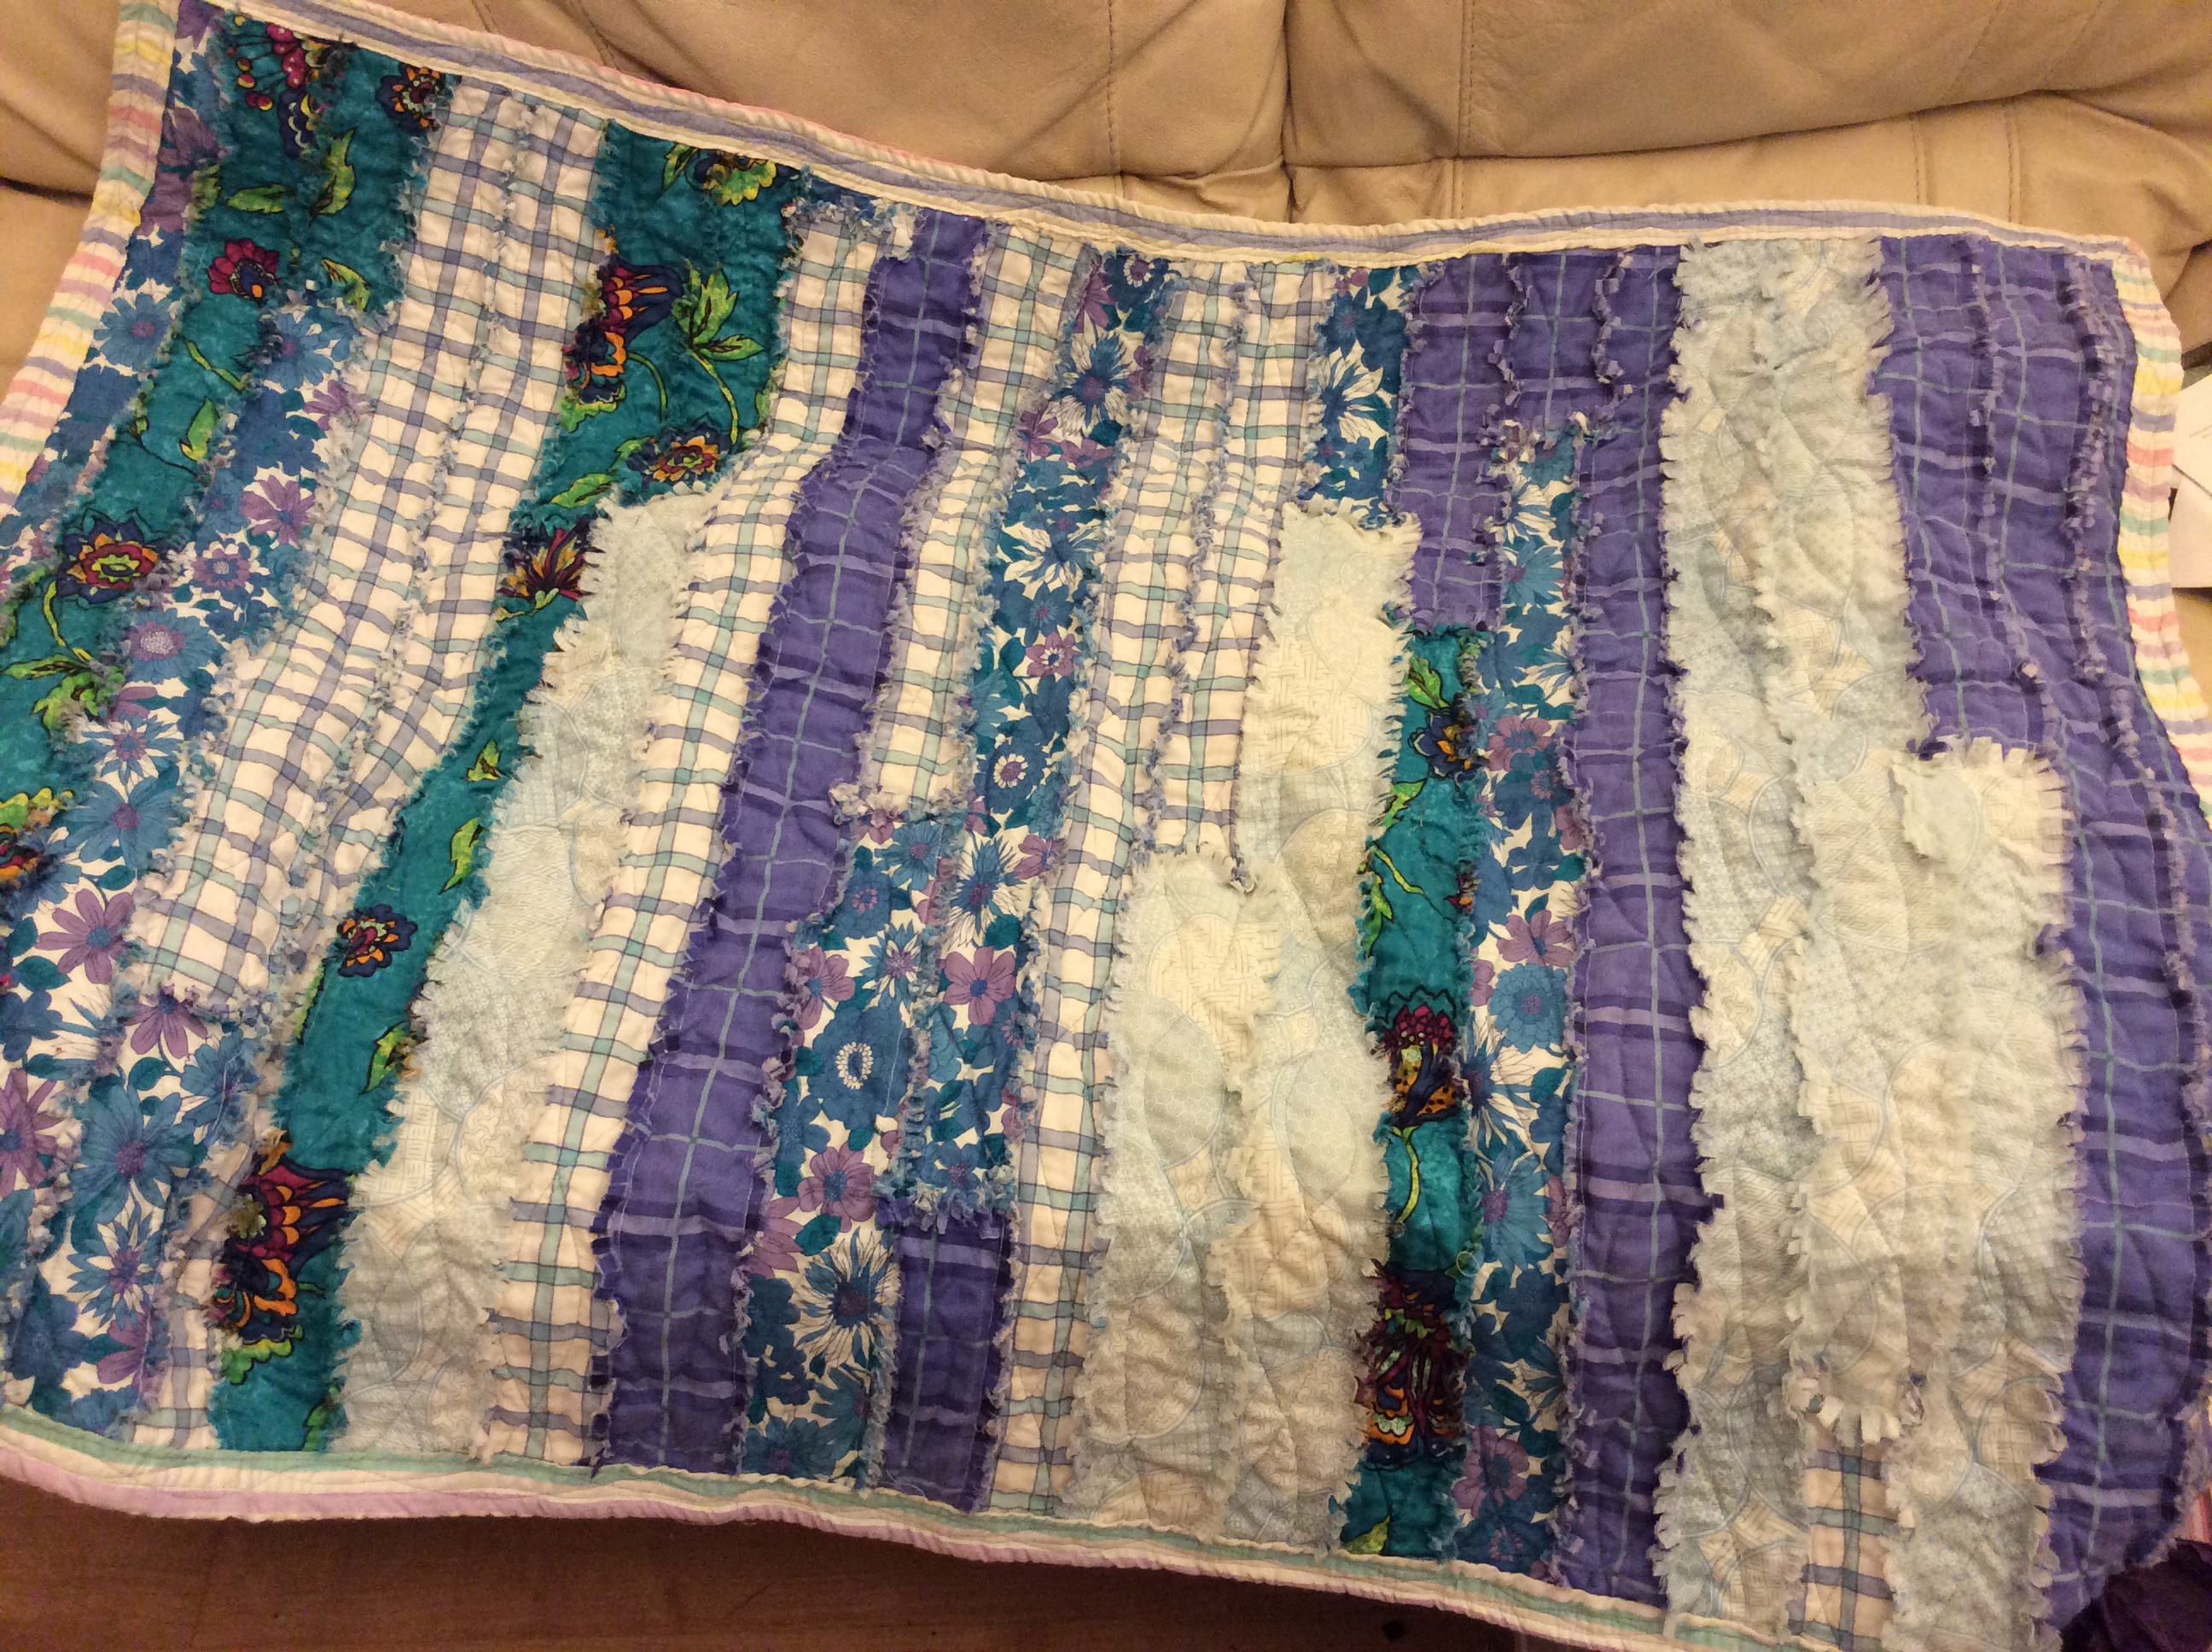
I’ve just done another one of those events where we are basically challenging people to think about how they choose their clothes, and what effect their choices will have on the world our descendants will have to live in. Last year, I did really well at the same event; lots of people were open-minded, willing and able to access their innate creativity. But this year, many attendees just seemed to want to buy the handmade/re-made/upcycled look, so although I was delighted to sell a few handmade trinkets, most of my lovely vintage fabrics remained on the stall. It was still well worth my while, and a delight to be trading alongside so many talented makers & menders, but ultimately a little discouraging, in the sense that so many people don’t seem to see any point even trying to make, mend or re-make their own garments no matter how much they love them, or originally paid for them. A button missing, a hem coming down, and it’s off to the Tip or the ragman, via the charity shop – who do not mend things, or put anything damaged out for sale.

I clearly hit a nerve with one or two, who reacted as if I’d suggested they became a slave for a day; how did we come to associate creativity – sewing, cooking, gardening, for example – with drudgery? From my point of view, making stuff is a delight, something I’m very lucky to have time to indulge in, even if I can’t afford brand new equipment or supplies. (That said, by now, I simply wouldn’t want to – I prefer to work with things that have had a previous “life” and clearly come with stories attached.) But I can understand how frustrating it can be for some, if they try and continually fail at whatever they wanted to do; at least they did try. Because normally, if you don’t do well at something on the first try, you should try, try and try again, as someone who appreciated spiders as much as I do once said. None of us will be masters the first time we try something; making mistakes is how we learn. Things get easier; you learn tips & tricks, you talk to people ahead of you on that path and learn from them. You try things out (easiest if you haven’t spent a fortune on supplies) and go with what works, remembering what doesn’t, and working out why.

Sadly people tell me they just don’t have the time. I sigh for them and agree, but can’t help thinking of a young Eastern European single Mum I’ve come across, who makes & sells stunning macramé items in the evenings, after she’s finished work, cooked the supper, and her child has gone to bed. She learnt to do this from YouTube videos on her phone, initially using garden string. She just tried, with whatever came to hand, persevered, & succeeded. It won’t make her a fortune, she’ll probably never be able to ditch the day job, but she does make useful (quite possibly essential) pocket-money from doing something she enjoys and her customers genuinely appreciate. And no-one would have blamed her for just sitting down & watching TV…
Making & mending with textiles, yarns & fibres is not for everyone, I do know. But I also feel that there’s a vast tranche of people out there who could, and would, if only they had the confidence to try, and it wasn’t so very much easier not to…